Having your closest cohort by your side as you prepare for and celebrate your big day is surely one of the most special parts of the process. The sense of wanting those loved ones to be happy, confi dent and comfy is now commonplace. Has anyone seen the movie 27 Dresses? Thankfully, gone are those days, where bridesmaids were forced into the bride's choice just because it went with the theme however hideous and impractical! So, we've looked into what's hot for bridesmaids and groomsmen, as well as the all-important mothers-of-the-bride and -groom for 2025 to ensure you a forever place in their good books!
The mix-and-match approach is still a top trend and for good reason – it looks stunning. Not only that, but it also allows your best girls to express their own style and feel comfortable in something that suits them. With an ombre of dresses in a single colour from your palette surrounding you, you'll all stop the show!
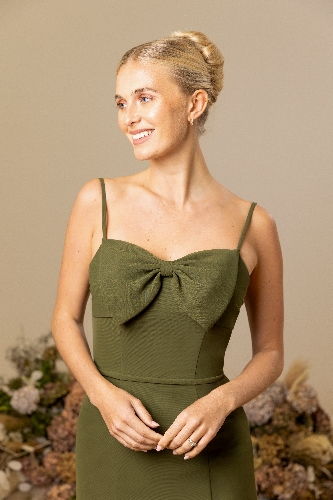
I love this olive green number with totally on trend bow. It's from the Luna Collection at Sussex-based True Bride (www.truebride.co.uk).